Installation
Step 1:
Click on the setup installation icon.
Power Path Setup Wizard will start.
Step 2:
Check on Next.

Step 3:
Check the box for License Agreement and click on Next.

Step 4:
Choose destination folder to install Power Path and click on Next.

Step 5:
Click on Install.

Step 6:
Select additional tasks optionally and then click on Next.

Step 7:
Check file extensions and icons that you want to be associated with Power Path and click on Next.
Step 8:
Wait until Setup Wizard installs Power Path.
Step 9:
Click on Finish.
If box Launch Power_Path is checked you can go on next step. If you didn't check box Launch Power_Path you need manually to run Power Path as administrator and then go on next step.

How to troubleshoot Power Path installation errors?
If you are launching Power Path software or finishing installation process, an error dialog Program.exe pops up like this (with message: The code execution cannot proceed because VCRUNTIME140_1.dll or MSVCCP140_ATOMIC_WAIT.dll was not found. Reinstalling the program may fix this problem.):

or

you don't have the Microsoft Visual C++ Redistributable package already installed on your computer, which is required for CAD/BIM software solutions.
Please follow these steps to solve issue:
Step 1:
Download Visual Studio 2015, 2017 and 2019 from Microsoft Site and install.
You need to download this one x64 https://aka.ms/vs/17/release/vc_redist.x64.exe.
Step 2:
Than try to uninstall then reinstall Power Path solution. And you will solve this problem!
Step 2.1:
Alternatively, If the above steps fail try following:
- Try to uninstall then reinstall the specific software which is producing the error upon launch. Many software installers contain a specific version of Visual C++ they depend on and reinstalling it may fix the launch issues.
- If the reinstall doesn't work, try repairing each Microsoft Visual C++ version through the Windows Control Panel > Programs and Features menu.
- In Windows, open Control Panel > Programs and Features.
- Double-click on the earliest desired version of the Microsoft Visual C++ 20xx Redistributable (x64) entry and choose Repair.
- Then, continue repairing additional VC++ installs as desired (from older to newer), reboot the PC and test the software again.

- After repairing or reinstalling Microsoft Visual C++ runtime, run repair on Power Path software.

Network license (NL) activation
Network license (NL) can be used by any user inside the company local (TCP/IP) network that has software installed on computer but by a limited number of users at a time.
You need to activate the Network license only once and it is locked to the server.
Once the Network license is activated and the server is started, you can use the Network license on a client computer.
Step 1:
You need to download license manager installation - ''Bricsys-Network License Manager'' from HERE.
Power Path License Manager is based on the Bricsys Network License Server, which includes both the RLM (Reprise License Manager) and the Bricsys Network License Manager components.
Step 2:
Run the setup installation icon.

Step 3:
Click on Next.

Step 4:
Check the box for License Agreement and click on Next.

Step 5:
Choose destination folder to install Bricsys Network License Manager and click on Next.

Step 6:
Click on Install.

Step 7:
Select additional tasks optionally and then click on Next.

Step 8:
During the installation, the new window called Bricsys License Manager (Activate Network License) will be opened.
Then you need to COPY your Computer Hostid: and send it to support@power-path.com. Our support team will answer you to provide .lic file for activation.

After you copy, select Cancel button in Bricsys License Manager (Activate Network License) window.
Step 9:
After you selected Cancel button in Active Network License window, the installation will finish.
Then you will get (see) two opening windows. Window of installation process accept with Finish.

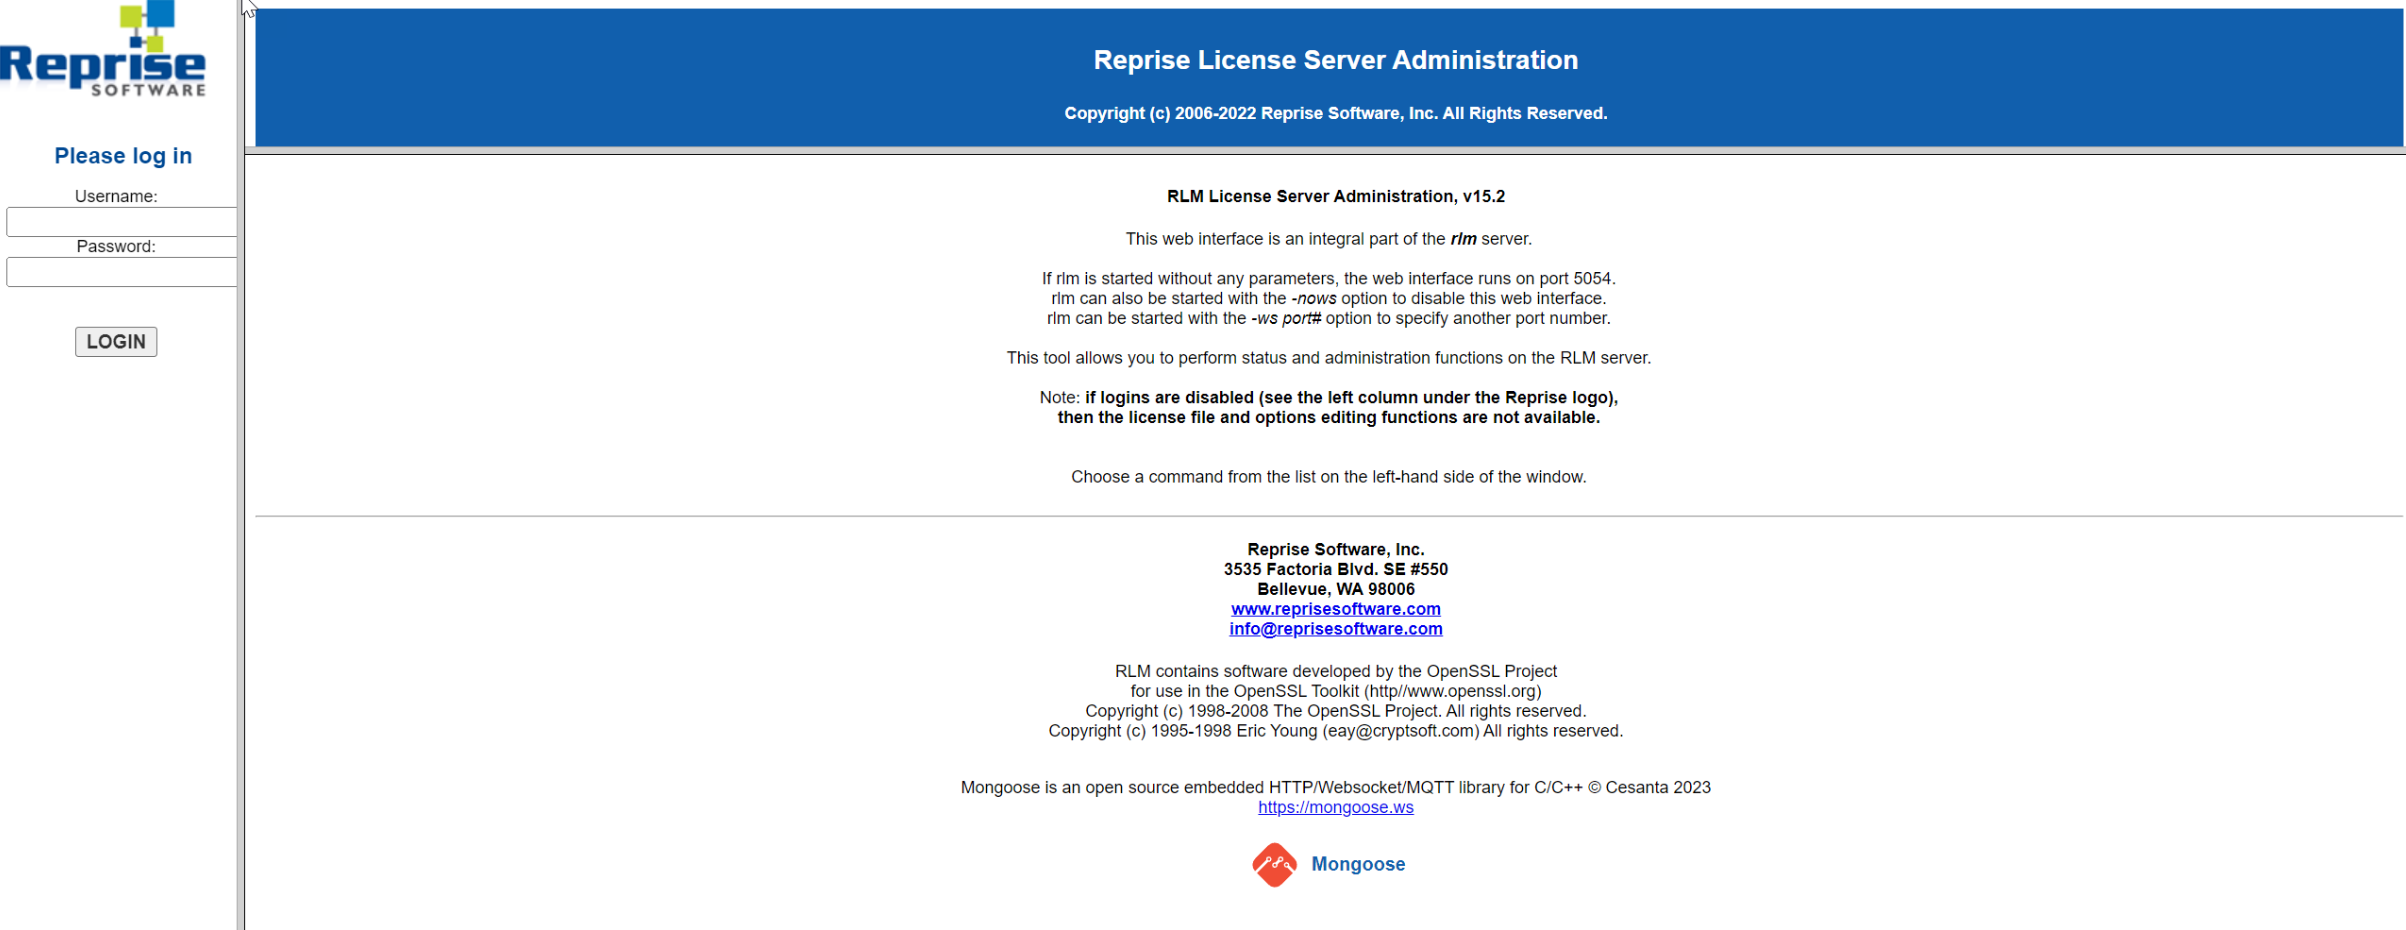
The second window is the window of the Reprise software, and it will open in an internet browser. In this window, log in using the default credentials: username admin and password admin.
After that, go to Change Password and set a New Password.
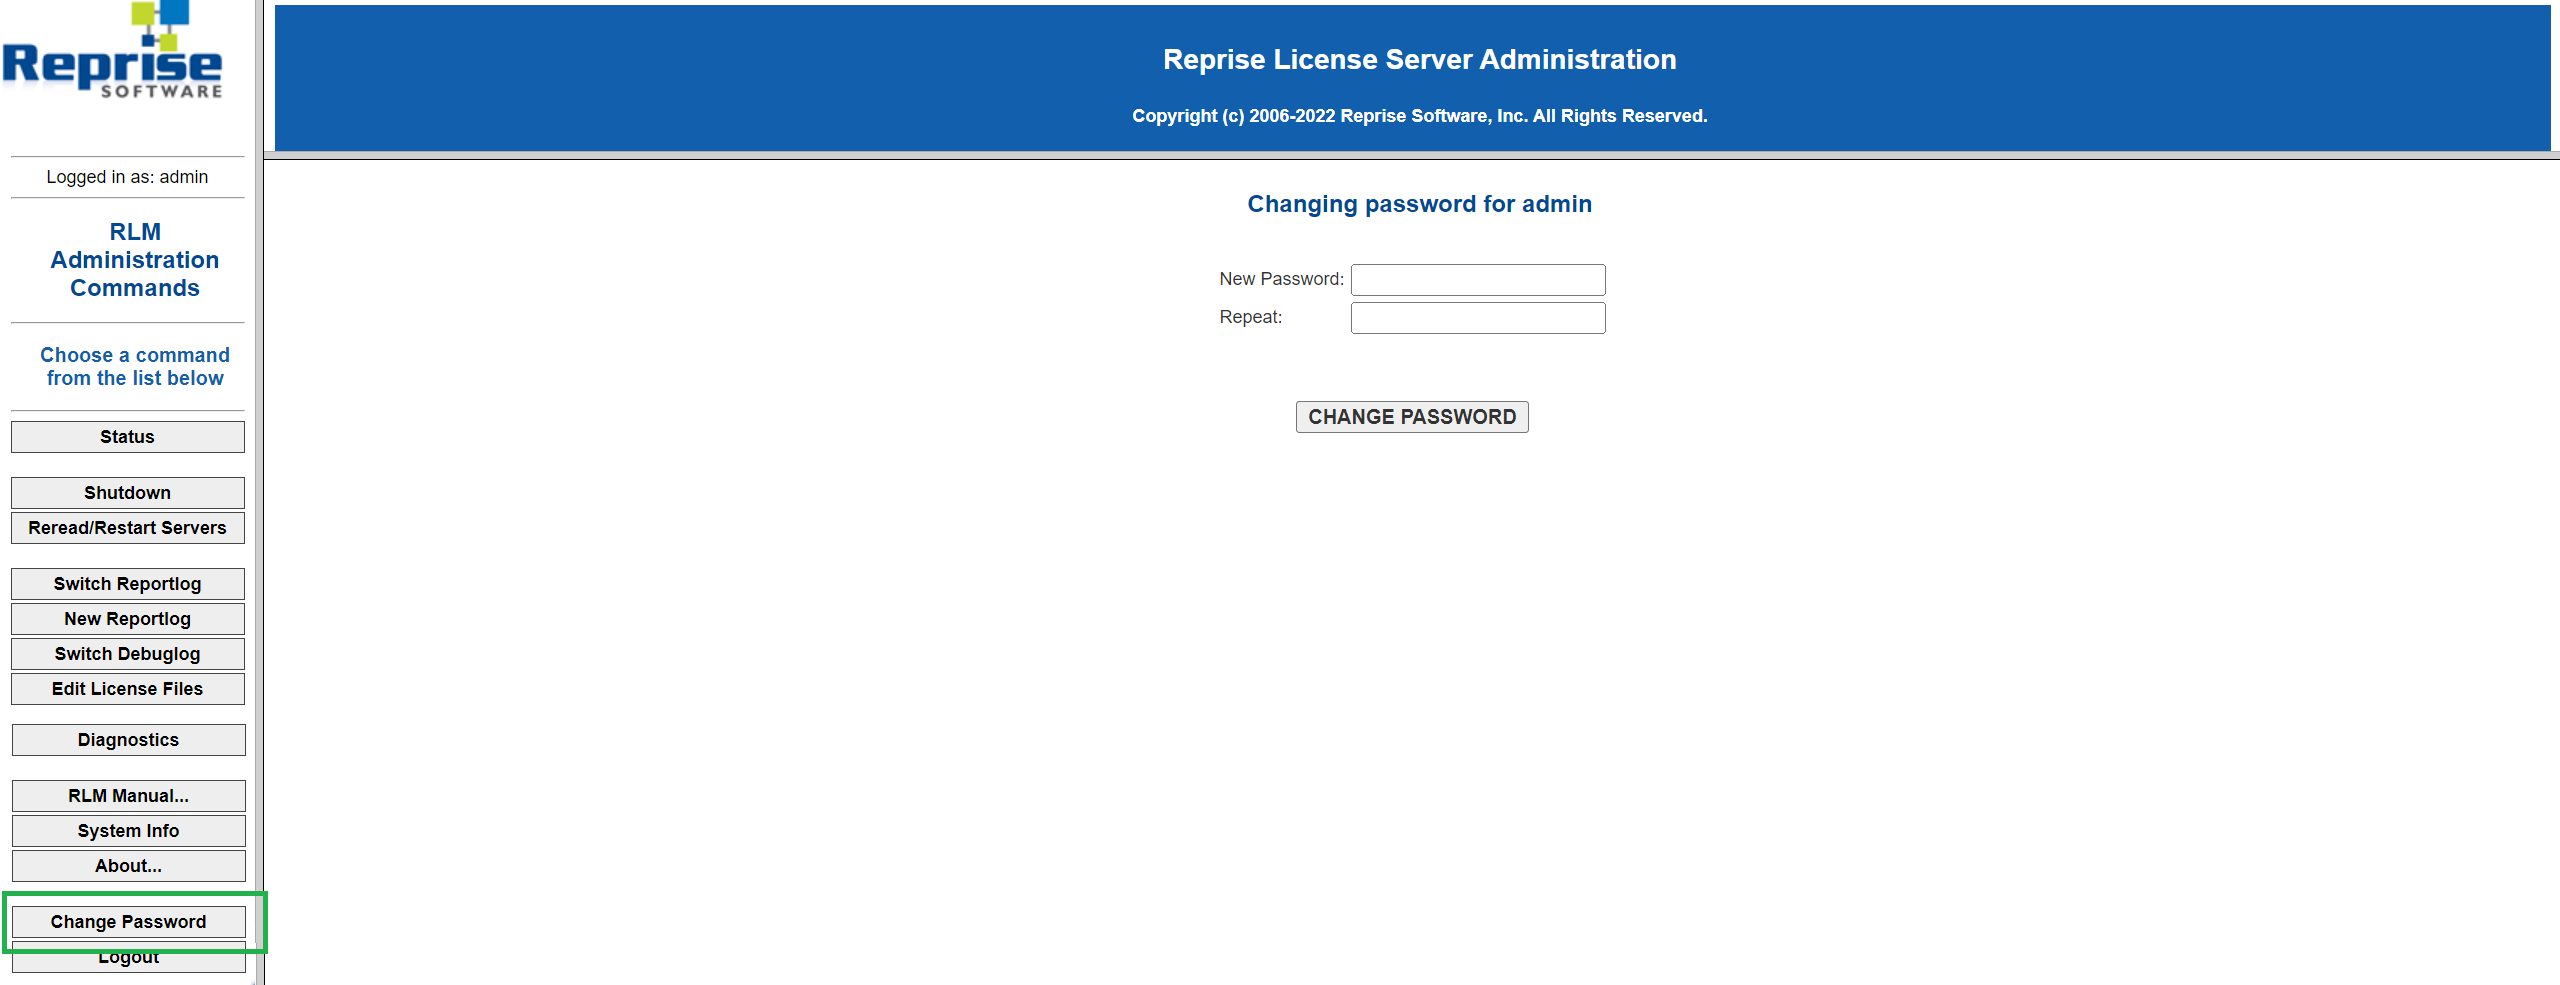
This step is very important for your organization’s additional security and for managing licenses. If the admin password remains set to the default for longer than 10 minutes, the server will shut down, and you will need to restart it and change the password.
You should minimize this window because you will need it later for activation of the network license.
A Bricsys Network License Manager is in background Reprise software which allows license managing!

Step 10:
After you received .lic file, you must copy and paste it in the Bricsys Network License Manager installation folder (by default: C:\Program Files\Bricsys\Bricsys Network License Server or C:\Program Files\Bricsys\Bricsys Network License Manager).

Step 11:
Go to the Reprise software (http://localhost:5054) and select Reread/Restart Servers on the left side, for the Reprise license manager to use the .lic file.
If you don't have open Reprise Software window, then you can find it if you click on the License Server Administration shortcut in the Start menu. The opening window will be displayed as this one below.

Step 12:
In the Reprise software (RLM web UI: localhost:5054) select Status on the left side.
And then click on bricsys in the Server Status to see your user licenses (License pool status).
After this 12. step, the License Manager is installed, and the Network License is activated (ready-to-use on clients computer).
The computer, on which the server is placed (set), can also work as client/user. It means that you can
set your network license in your Power Path software on your server (host) computer.
Users can be connected within the local network via LAN or Wi-Fi to which the server is also connected.
If they are out of range of Wi-Fi then they must use a VPN to connect to that network.
Step 13:
In the next steps we will show you how to set client computers for using network license.
You need to run Power Path software as administrator and then go on the next step.
Step 14:
On the user computer, in Bricsys Licence Manager dialog window Activate Power-Path, click on Activate Now.
Choose Server name or address and enter your device name, click on OK.
Don’t change Port number (5053). 
NOTE: Your Device name is the name of server where you installed license manager. If you don’t know a name of your server, you will find if you go on start in start menu, press right click and select system.
In the opening dialog you can see Device specifications and your Device (Server) name.
Copy this name and paste it in Server name or address in the window Bricsys License Manager.
Step 15:
In previous step you licensed Power Path on client computer. Then in this step choose CAD profile (workspace). Our recommendation is to start 2D Drafting.
This dialog will be opened just on first Power Path launching, later user can change profile (workspace) in software.
Now your Power Path software is ready to use on client computer:

We sincerely hope you will enjoy using Power Path software solution!
License Managing and advanced options
Power Path license deactivation
You can open License Manager dialog window to deactivate your Bricsys Network License Manager in two ways:
1. By entering command LICENSEMANAGER in command bar

or
2. Turn on Menu Bar and choose License Manager from Help menu.


New dialog window License Manager will be opened.
- Click on Manage License.
- Choose Return and click on Yes.


Close Power Path software.
When you set Return, you returned your network license from your power-path software to the Network License Pool. It means that you can return a license earlier than the expiry date, but to do this, your computer must be connected to the network license server.
Power Path license roaming option
Roaming option in the window Bricsys License Manager is used when a user needs to work offline (will not be connected on local network). A roaming license is tied to the client computer that goes offline for a specific period of time.
So, roaming functionality represent when a computer can be offline for a period of time and continue to use the application.
The resulting license can be used for the number of days specified when the license was set to roam.
After this period, the license is checked back in automatically. If needed, you can return the roamed license to the license pool early.
Using Reprise Software for managing network licenses on server
The intro screen of the Reprise Software is shown below. There are 3 sections on this interface:
- a top banner with the Reprise logo and title,
- a command area on the left and
- a general view area in the main side of the screen.
On the left side is a list of administration commands which will be discussed.
If you are client and user and want to open Reprise Software just use URL address http://localhost:5054, but if you are just user write the name of your server (host): http:/p-bacev:5054 (for example, the name of server is: p-bacev) and Reprise Software will be opened. 
Main Status Screen
If you select Status from the menu on the left, the main status screen is displayed in the view area as shown below.

The first table displays the host information where the Reprise Software server is running - host name and port #.
The second table displays the status of the Reprise Software server itself.
The third table represent the main part for us. It is a table of ISV servers, with a number of buttons like ISV server status, license status, display the last few lines of the debug log, reread, or restart the server, edit server options, or shut down the ISV server.
Server Status
If you click on an ISV button in the Server Status column in the ISV server status display, you will see the detailed status display for this ISV server (shown below) in the view area.
This display shows some server statistics in a table at the top, followed by a table of all the licenses which this ISV server is serving.
At the far right-hand, there is column called Show Usage.
The column has buttons which, if pressed, will generate a list of users of that product.
License Status
If you click on the usage button in the "Show Usage" column above, in "License pool status" you will see the license status screen, for the selected products. You can see the name of the product, the user, the host and when it will be out of time.
Reread/Restart Servers
If you select Reread/Restart Servers from the menu on the left (or from the Reread column in the ISV server status display), you will see the Reread/Restart Servers screen as it is shown below.
If you enter an ISV name that particular ISV server will be restarted if it is not running, or it will be sent a reread command if it is running. If you leave the ISV name blank or enter "all", all ISV servers will be restarted or reread their license files, as appropriate.
The Reread/Restart Servers will happen when you click the REREAD/RESTART button.
If you do not wish to send the reread command to any servers, use the browser back button, or select a different command from the list on the left.

Shutdown
If you select Shutdown from the menu on the left (or from the Shutdown column in the ISV server status display), you will see the Shutdown License Server screen as it is shown below.
If you enter an ISV name that particular ISV server will be shut down. If you leave the ISV name blank or enter "all", all ISV servers will be shut down.
The shutdown will happen when you click the SHUT DOWN SERVER button.
If you do not wish to shut down any servers, use the browser back button, or select a different command from the list on the left. Visit http://www.reprisesoftware.com/RLM_License_Administration.pdf for more information about Reprise Software.
Server (default) ports
By default, after installing the Bricsys Network License Manager, the following ports are allowed: 5053 for licensing and 5054 for the web interface (UI).
Setting a new port
To set new port for user computer, go to the Reprise software (http://localhost:5054) and select Edit License Files on the left side. Chose your .lic file and select Edit License File.  In the opening window you have to change your port number. We will show example where we change our port 5053 to port 5153.

Now, go again to the Reprise software (http://localhost:5054) and select Reread/Restart Servers on the left side and wait a few seconds for the server to restart.

On this computer, in Bricsys License Manager dialog window Activate Power-Path, click on Activate Now.

Choose Server name or address, enter your device name and change Port number (in our example it would be 5153). Click on OK.
Setting administrator rights on the new computer
To set new administrator computer you have to uninstall Bricsys Network License Manager from your Control Panel. 
After this, you have to repeat all steps above on your new computer. You need to download license manager installation - ''Bricsys-Network License Manager'' from HERE and install it.
Then you need to COPY your Computer Hostid: and sent it to support@power-path.com .Our support team will answer you and provide .lic file for activation.
We sincerely hope, you will enjoy using Power Path software solution!